
Couchdb is a popular NoSQL database that is open source and provides high availability. Couchdb allows you to store data as key-value pairs, that is, JSON structure. It allows you to easily store and retrieve text, strings, numbers, boolean values and more. In this article, we will look at how to install Couchdb in Ubuntu.
How to Install CouchDB in Ubuntu
Here are the steps to install Couchdb in Ubuntu.
1. Enable Couchdb repository
Open terminal and run the following command to import GPG key for Couchdb.
$ curl -L https://couchdb.apache.org/repo/bintray-pubkey.asc | sudo apt-key add -
Then add Couchdb repository to the source list of your Ubuntu system.
$ echo "deb https://apache.bintray.com/couchdb-deb bionic main" | sudo tee -a /etc/apt/sources.list
Also read : How to Enable HTTP2 in Tomcat
2. Install Couchdb
Run the following commands to install Couchdb.
$ sudo apt update
$ sudo apt install couchdb
During installation, you will see a prompt that asks you whether you want to install Couchdb as standalone or cluster database. We will install it as a standalone server. So select Standalone option.
Next, you need to specify the network address on which you want the Couchdb database to bind to. By default, it is 127.0.0.1. For standalone installation, leave it as it is. For cluster installation, you need to enter it as 0.0.0.0 to bind it to all network interfaces.
Next, you will be asked to enter administrator password. Please select a password that is not easy to guess and is a combination of alphabets, numbers and special characters.
You will be asked to confirm the password by entering it again. After this step, Couchdb will be installed on your Linux system.
Also read : How to Configure X-Frame-Options in NGINX
3. Verify Installation
You can verify the installation by running the following command. Please note, Couchdb runs on port 5984.
$ curl http://127.0.0.1:5984/
You will get an output which looks like
{
   "couchdb":"Welcome",
   "version":"2.3.1",
   "git_sha":"07ea0c7",
   "uuid":"1d2074b5eb428c30240e0c7384036acf",
   "features":[
      "pluggable-storage-engines",
      "scheduler"
   ],
   "vendor":{
      "name":"The Apache Software Foundation"
   }
}
Also read : How to Serve Static Files in NodeJS using NGINX
You may also open web browser and go to http://127.0.0.1:5984/_utils/. It will open Couchdb’s visual dashboard Fauxton.
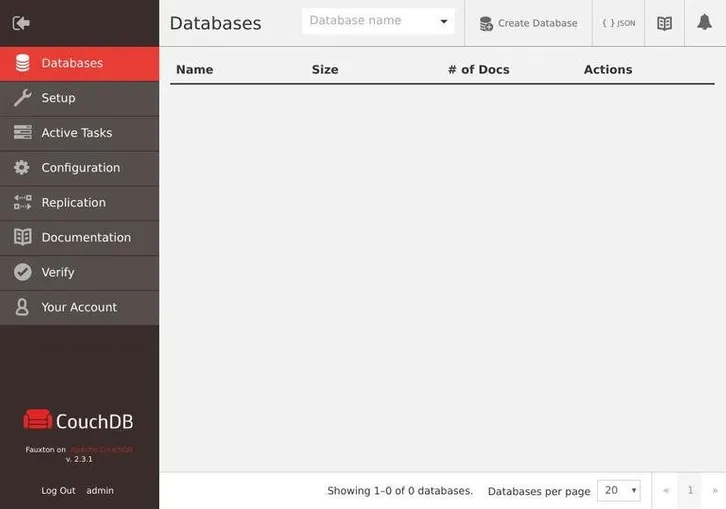
4. Common Commands for Couchdb
You can use the above dashboard to add/remove/start/stop databases. Nevertheless, here are some commonly used commands to manage your Couchdb instance.
To stop Couchdb service,
$ sudo systemctl stop couchdb.service
To start Couchdb service,
$ sudo systemctl start couchdb.service
To enable Couchdb service to start on system boot
$ sudo systemctl enable couchdb.service
To get Couchdb status,
$ sudo systemctl status couchdb.service
That’s it. Now Couchdb will be up & running on your Ubuntu system. In this article, we have explained how to install Couchdb in Ubuntu. You can also use these steps for other Debian systems.
Also read : How to Install Apache Cassandra in Ubuntu
Related posts:
How to Setup 2 Factor Authentication for SSH in Linux
How to Append One File to Another in Linux
Linux Split File into Multiple Files
How to Increase Inode Limit in Linux
How to Do Google Search from Terminal
How to Reload etc/hosts in Linux
How to View Linux Log Files
How to Do Port Forwarding in Raspberry Pi

Sreeram has more than 10 years of experience in web development, Python, Linux, SQL and database programming.