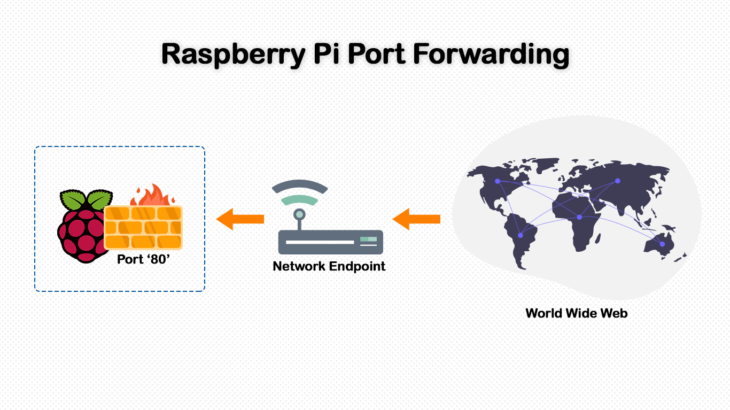
Raspberry Pi allows you to do many things including hosting a website or server on it. But for this purpose, it needs to be externally accessible. Port forwarding allows Raspberry Pi to be externally accessible. In this article, we will learn how to do port forwarding in Raspberry Pi.
How to Do Port Forwarding in Raspberry Pi
Here are the steps to setup port forwarding in Raspberry Pi.
1. Connect to Router Admin Page
On a computer that is connected to your local network, open the router admin page by visiting 192.168.1.1 or 192.168.1.254 on your web browser.
2. Log into Router
Enter username & password for your router to log into it. Generally, the default username and password are admin and admin respectively.
3. Setup Port Forwarding
Once you have logged into router admin page, go to Virtual Server page. On this page, enter the following details.
- Service Port: This is the external port.
- IP Address: This is the IP address of your Raspberry Pi.
- Internal Port: Set it to Pi’s application port where your application/server is running. (A web server runs on port 80 for example)
- Protocol: Set this to ALL unless specified.
- Status: Set this to enabled.
These settings will direct traffic from specified port to internal Raspberry port. If you are hosting a website, keep the service port and internal port as 80, for simplicity. Also, if you want Raspberry Pi to publicly accessible, enter a public IP, else enter the private IP address as provided by your network.
Save the settings. Now you and others should be able to access your Raspberry Pi from external systems and networks.
Also read:
How to Install Raspbian in Raspberry Pi
How to Configure LDAP Server in Ubuntu
How to Install SSL Certificate in Raspberry Pi
How to Disable Lighttpd Access Log
How to Install HTTP Server in Raspberry Pi
Related posts:
How to Find & Kill Zombie Processes in Linux
Bash Loop Through Files in Directory Recursively
How to Configure DNS Nameserver in Ubuntu
How to Manage Systemd Services on Remote Linux Systems
How to Add Repository in Ubuntu/Debian Linux
How to Convert Epub to PDF in Linux
How to Fix dpkg Was Interrupted, You Must Manually Run Sudo
How to Send Email With Attachment in Linux

Sreeram has more than 10 years of experience in web development, Python, Linux, SQL and database programming.