
cPanel allows you to easily backup your website, as well as restore full backup quickly. This is very useful if you have accidentally moved or deleted some files, or a software update is giving problems and you want to restore your website to its last working version. In this article, we will look at how to restore full website backup from cPanel.
How to Restore Full Backup from cPanel
Here are the steps to restore full backup from cPanel. Please note, this will overwrite all files that are present on your backup, but not change any new file that you may have created on your website, after taking the backup.
1. Log into cPanel
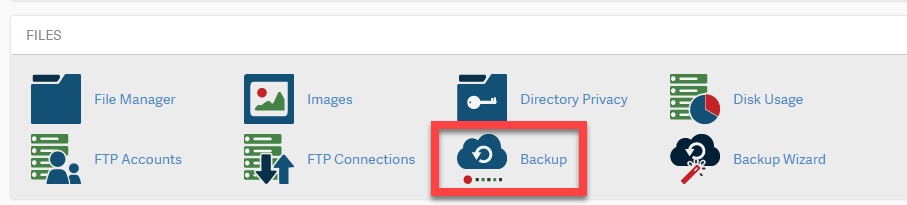
2. Click Backup, under Files Section.
Bonus Read : How to Remove Malware from Website
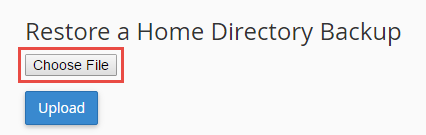
3. You will see a form asking you to choose the backup file. Click Choose File.
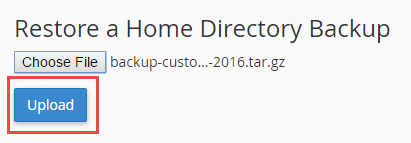
4. You will see a File navigation dialog box. Navigate to your backup file, and click open to select it. You will see the name of your file in the above form. Click Upload.
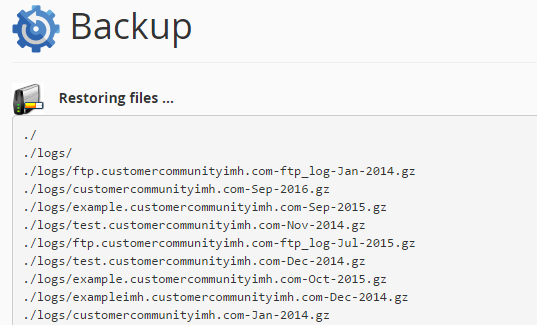
5. cPanel will start uploading content of backup file. After uploading is complete, it will automatically unzip the contents of your backup file and restore them one by one. While doing so, it will list those file names as shown below.
Hopefully, the article will help you restore full backup from cPanel.