
LDAP (Lightweight Directory Access Protocol) allows applications to quickly authenticate users and control their directory access. It is used by many organizations around the world. It uses a client-server architecture whereby LDAP clients send user information to the server for authentication and access. The server response determines whether the said user is authenticated and has access or not. In this article, we will learn how to configure LDAP client for Ubuntu. You can use these steps for Ubuntu 16.04 and above.
How to Configure LDAP Client for Ubuntu
Here are the steps to configure LDAP client for Ubuntu. We have assumed that you have configured LDAP server on another system and you want to install LDAP client on your system. The client will communicate with the server. We have also assumed that you have added user accounts to your LDAP server.
1. Add LDAP Server’s Address
First, we need to add your LDAP server’s address to your /etc/hosts file. For this purpose, open terminal and run the following command to open /etc/hosts.
$ sudo vi /etc/hosts
Let us say your LDAP server’s address is ldap.example.com and it is located at 54.43.32.21. Add the following line to your /etc/hosts file.
54.43.32.21 ldap.example.com
Save and close the file.
2. Install LDAP Client Utilities
Run the following command to install LDAP client utilities on your system.
$ sudo apt -y install libnss-ldap libpam-ldap ldap-utils
3. Configure LDAP client
When you run the above command, you will see the following screen asking you to set LDAP URI. You can set it to the IP address or hostname of your LDAP server.

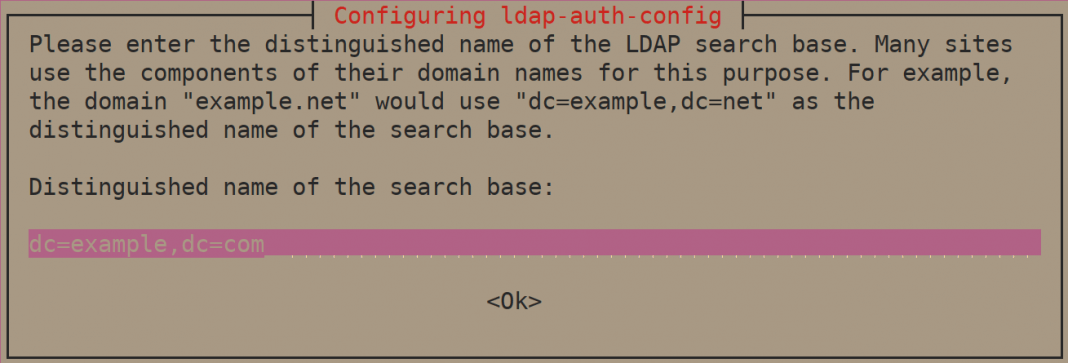
Next, set a distinguished name for your search base.
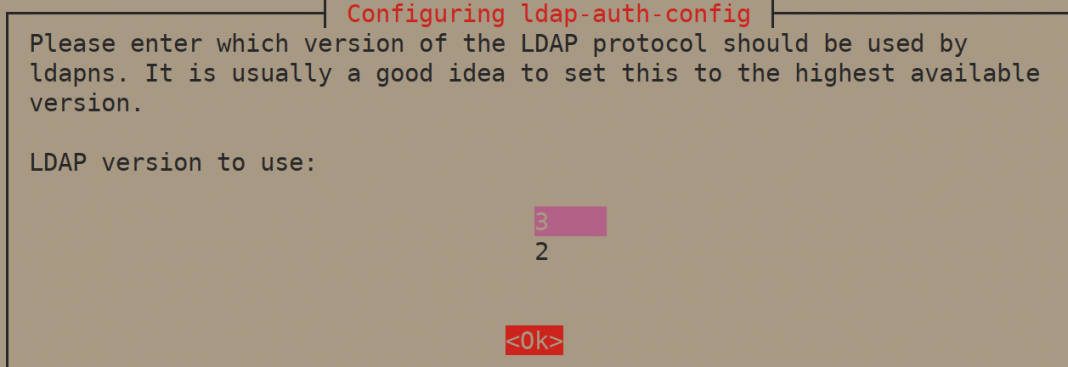
Next, select LDAP version. We will select version 3.
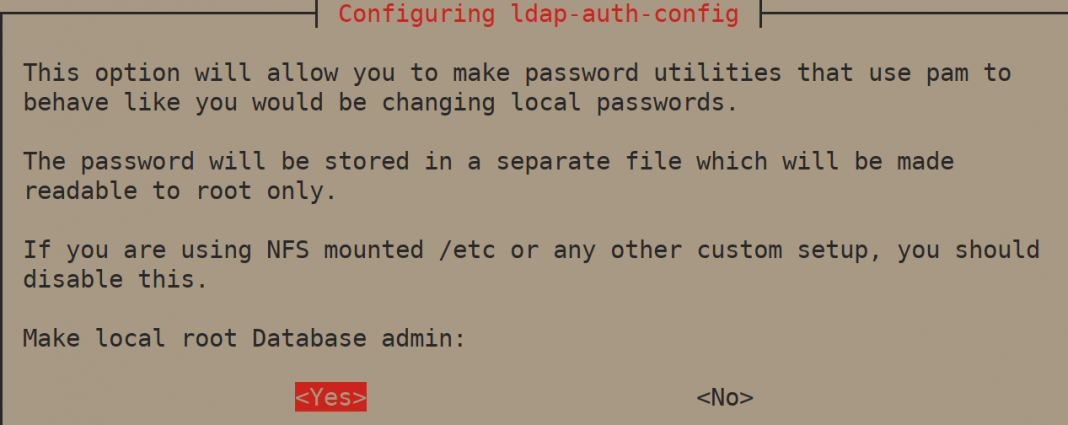
Next, select Yes to Make Local root database admin.
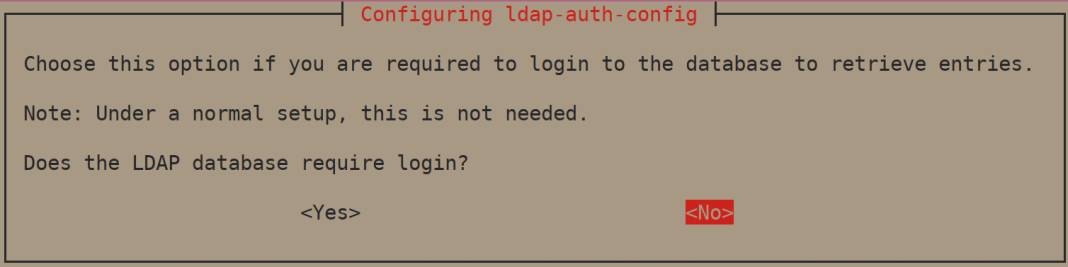
Next, select No to Does LDAP database require login.
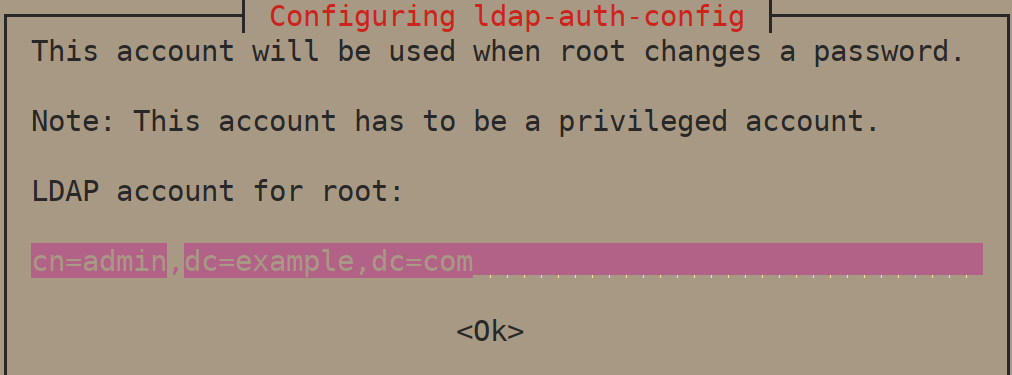
Next, set LDAP account for root by entering cn=admin,cd=example,cn=com
Next, provide LDAP root account password.

This will proceed with installation.
After installation is complete, edit /etc/nsswitch.conf and ldap authentication to passwd and group lines.
passwd: compat systemd ldap
group: compat systemd ldap
shadow: compat
Next, modify /etc/pam.d/common-password. Remove use_authtok on line 26 so that it looks like
password [success=1 user_unknown=ignore default=die] pam_ldap.so try_first_pass
Save and close the file. Add the following line to the end of /etc/pam.d/common-session to enable creation of home directory on first login.
session optional pam_mkhomedir.so skel=/etc/skel umask=077
Save and close the file.
4. Test Installation
Switch to a user account on LDAP to test the installation.
# sudo su - test_user
Creating directory '/home/test_user'.
$ id
uid=10000(test_user) gid=10000(sysadmins) groups=10000(sysadmins)
In this article, we have learnt how to configure LDAP client in Ubuntu. If you are looking to install LDAP server also, you can refer to our tutorial here.
Also read:
How to Copy File to Clipboard in Ubuntu
How to Assign Command Output to Variable in Shell Script
How to Disable Package Updates in Yum/Dnf
How to Group By Multiple Columns in Python Pandas
How to Access Environment Variables in Python