
Joomla is a popular CMS used by many websites around the world. It runs on PHP and is commonly configured to use MySQL/MariaDB databases. In this article, we will look at how to install Joomla in Ubuntu 20.04/18.04. You can also use these steps for older Ubuntu versions as well as other Debian systems.
Install Joomla on Ubuntu 20.04
Here are the steps to install Joomla in Ubuntu.
1. Update system packages
Open terminal and run the following commands to update system packages in Ubuntu.
$ sudo apt update -y && sudo apt upgrade -y
Also read : Install MySQL in Ubuntu
2. Install PHP & Apache
Joomla runs on PHP and is usually configured to run on Apache web server. Run the following command to install PHP.
Ubuntu 20.04
$ sudo apt install apache2 libapache2-mod-php7.2 openssl php-imagick php7.2-common php7.2-curl php7.2-gd php7.2-imap php7.2-intl php7.2-json php7.2-ldap php7.2-mbstring php7.2-mysql php7.2-pgsql php-smbclient php-ssh2 php7.2-sqlite3 php7.2-xml php7.2-zip
Ubuntu 18.04
$ sudo apt -y install software-properties-common
$ sudo add-apt-repository ppa:ondrej/php
$ sudo apt-get update
$ sudo apt install apache2 libapache2-mod-php7.4 openssl php-imagick php7.4-common php7.4-curl php7.4-gd php7.4-imap php7.4-intl php7.4-json php7.4-ldap php7.4-mbstring php7.4-mysql php7.4-pgsql php-ssh2 php7.4-sqlite3 php7.4-xml php7.4-zip
Run the following command to install Apache.
$ sudo dpkg -l apache2
If you see any prompts, just enter y and proceed further.
Enable and Start Apache server
$ sudo systemctl start apache2
$ sudo systemctl enable apache2
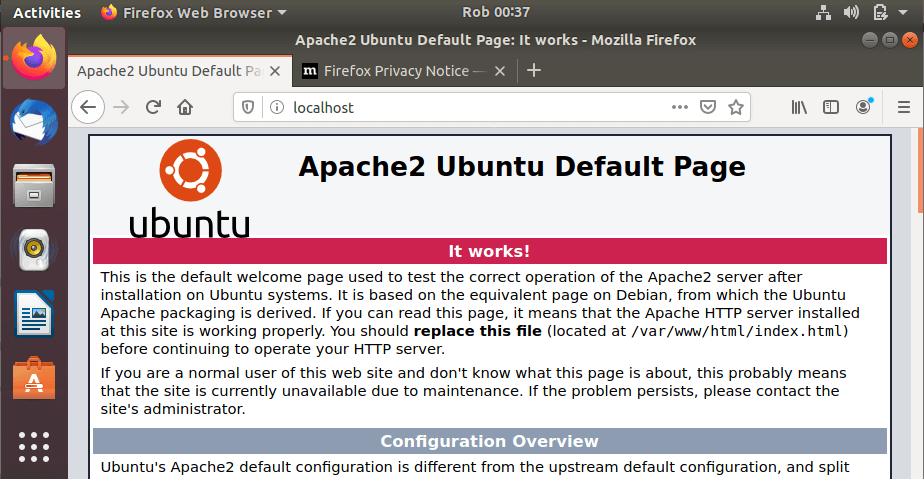
Open browser and go to http://your_server_ip or http://localhost if you have installed Apache on your local system.
You will be able to see the default Apache home page.
Similarly, verify PHP installation.
$ sudo php -v
Also read : How to Raise Exception in Python
3. Install MySQL Server
Run the following command to install MySQL server.
$ sudo apt install mysql-server
You may be asked to enter root password for your database. Enter & Re-enter a password of your choice. It is advisable to use a password that is not easy to guess, and is a combination of alphabets, numbers & special characters.
Also, if you see any prompts, enter y to proceed.
By default, the MySQL installation is not very secure. Run the following command to configure its security options.
$ sudo mysql_secure_installation
You will see a set of prompts that allows you to set security settings of your MySQL server.
Enter current password for root (enter for none): <Enter password>;
VALIDATE PASSWORD PLUGIN can be used to test passwords
and improve security. It checks the strength of password
and allows the users to set only those passwords which are
secure enough. Would you like to setup VALIDATE PASSWORD plugin?

Press y|Y for Yes, any other key for No: Y

There are three levels of password validation policy:

LOW    Length >= 8
MEDIUM Length >= 8, numeric, mixed case, and special characters
STRONG Length >= 8, numeric, mixed case, special characters and dictionary                  file

Please enter 0 = LOW, 1 = MEDIUM and 2 = STRONG: 1
Using existing password for root.

Estimated strength of the password: 25
Change the password for root ? ((Press y|Y for Yes, any other key for No) : d


Remove anonymous users? [Y/n] Y
Disallow root login remotely? [Y/n] Y
Remove test database and access to it? [Y/n] Y
Reload privilege tables now? [Y/n] Y
Thanks for using MySQL!
Also read : How to Install PHPMyAdmin in Ubuntu
4. Create Joomla Database & User
We will create an empty database for Joomla application, along with a database user that can access it. When we install Joomla, it will automatically create the tables and columns in this database as per its requirement. First log into your mysql database.
$ sudo mysql -u root -p
Enter root password to log in.
Run the following command to install Joomla on your Ubuntu system. Replace joomla, joomla_user and strong_password with the database name, username and password of your choice.
mysql> CREATE DATABASE joomla;
mysql> GRANT ALL ON joomla.* TO ‘joomla_user’@’localhost’ IDENTIFIED BY ‘strong_password’;
mysql> FLUSH PRIVILEGES;
mysql> EXIT;
Please note the database name, user name & password as we will need to it later to configure Joomla application.
Also read : How to Install MongoDB in Ubuntu
5. Install Joomla
Run the following command to download Joomla application using wget command.
$ sudo wget https://downloads.joomla.org/cms/joomla3/3-9-26/Joomla_3-9-26-Stable-Full_Package.zip
Unzip the above file to /var/www/html/joomla folder from where Apache can access it.
$ sudo mkdir /var/www/html/joomla
$ sudo unzip Joomla_3-9-26-Stable-Full_Package.zip -d /var/www/html/joomla
Set user ownership & permissions to allow Apache web server to work with these files & folders.
$ sudo chown -R www-data:www-data /var/www/html/joomla
$ sudo chmod -R 755 /var/www/html/joomla
Also read : How to Use Curl to Download Files in Linux
6. Configure Joomla
Next, we will create a virtual host configuration file for our Joomla application for Apache.
$ sudo vim /etc/apache2/sites-available/joomla.conf
Add the following lines of code to this blank file. Replace my-website.com with your website’s domain.
<VirtualHost *:80>
     ServerAdmin admin@my-website.com
     DocumentRoot /var/www/html/joomla/
     ServerName my-website.com
     ServerAlias www.my-website.com

     ErrorLog ${APACHE_LOG_DIR}/error.log
     CustomLog ${APACHE_LOG_DIR}/access.log combined

     <Directory /var/www/html/joomla/>
            Options FollowSymlinks
            AllowOverride All
            Require all granted
     </Directory>
</VirtualHost>
Enable the virtual host
$ sudo a2ensite joomla.conf
$ sudo a2enmod rewrite
Restart Apache web server to apply changes.
$ sudo service apache2 restart
Also read : How to Set or Change Time Zone in Ubuntu
7. Complete Joomla Installation
Open browser and go to http://your-server-ip/joomla or http://localhost/joomla. You will see a configuration screen where you need to enter site name & admin email. You will also see a section to enter superuser details such as email, username & password. Enter them as per your requirement and keep them handy as we will need at the end of this step.
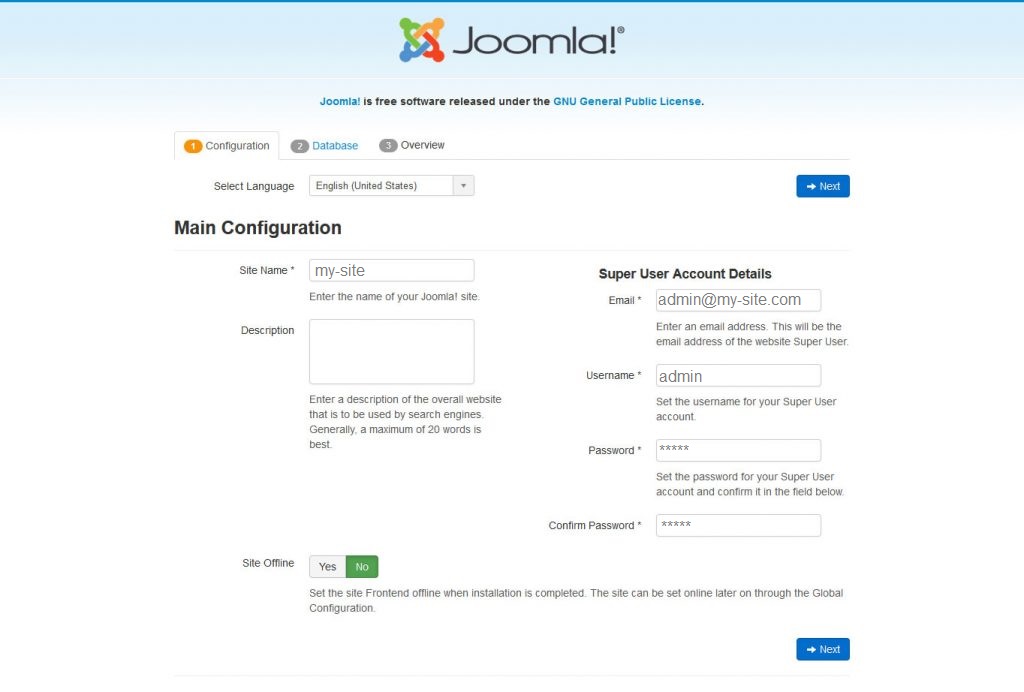
Enter the required details and click Next.
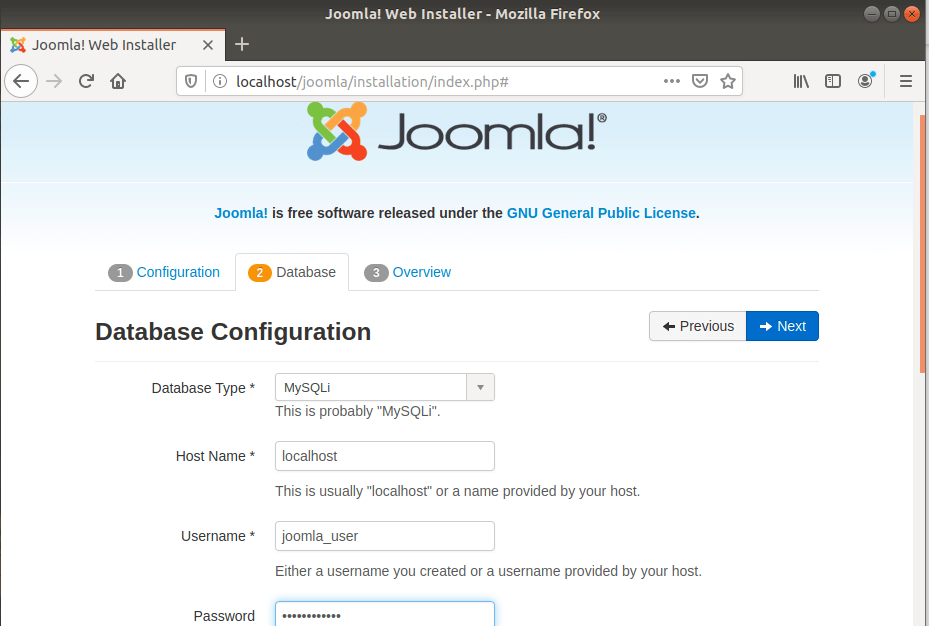
Next, you need to enter database connection details. Enter the details you had entered in Step 4 when we created Joomla database & user.
Next, Joomla will show you an overview of your settings for your confirmation.
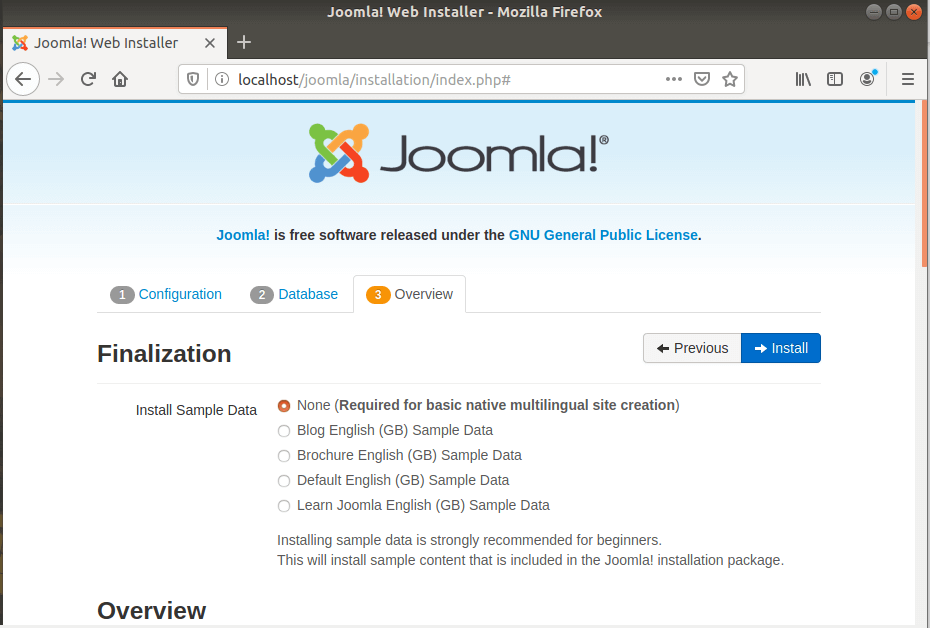
As you scroll down you will also see Pre-Installation Check and Recommended Settings sections.
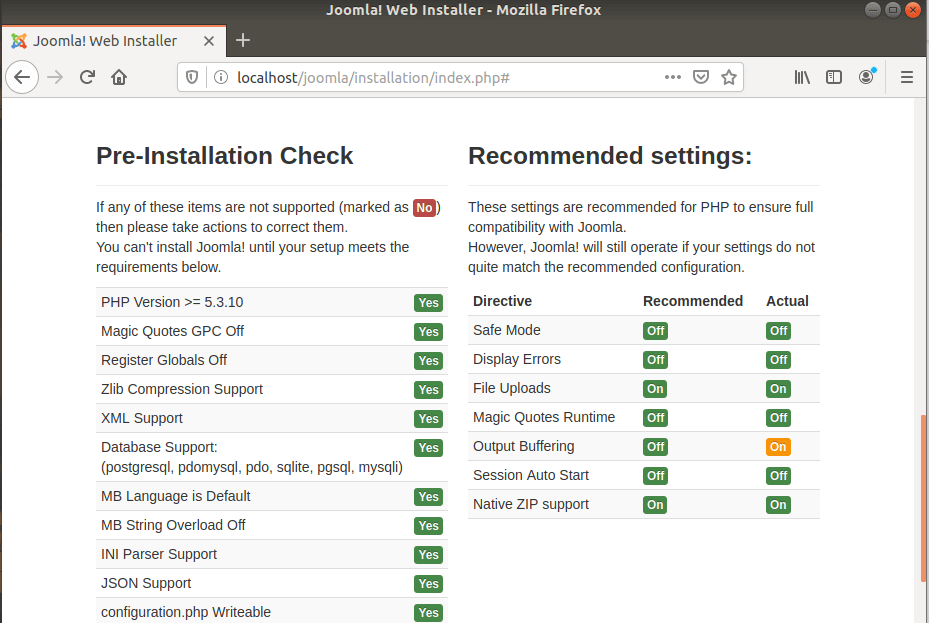
Please go through it and ensure that all the settings are as per your requirement.
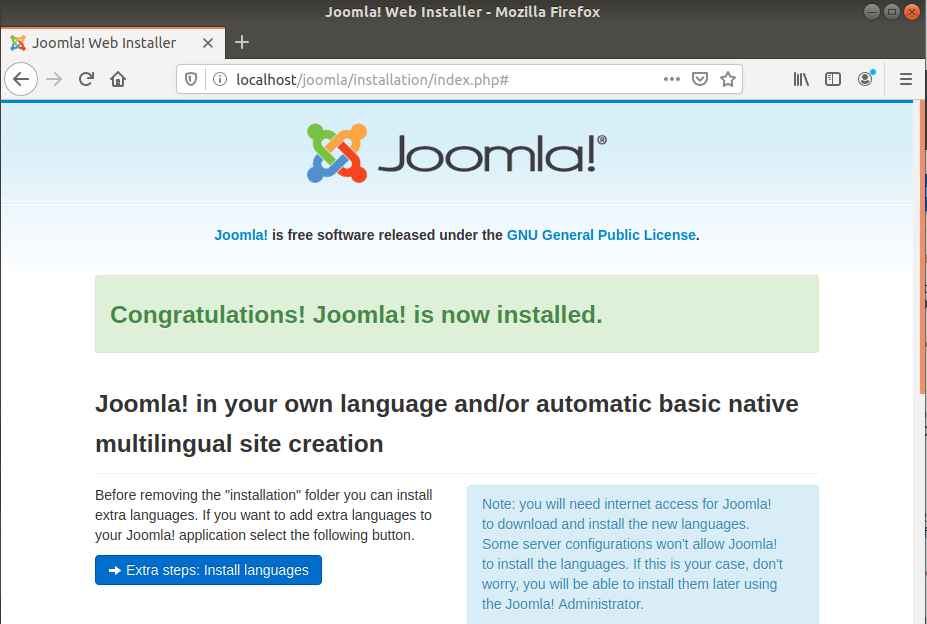
If all looks good, scroll up and click Install button. Joomla will complete the installation and show you a Welcome Page.
As a last step, Joomla will require you to delete the installation folder as you scroll down the welcome page. Click Remove Installation Folder button for this purpose.
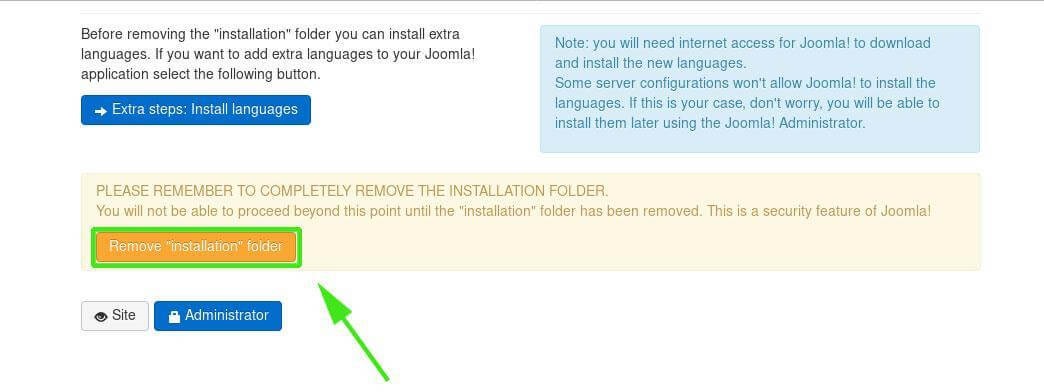
Then click Administrator button on the same page to go to the login page. Enter username & password that you had entered for superuser account at the beginning of this step.
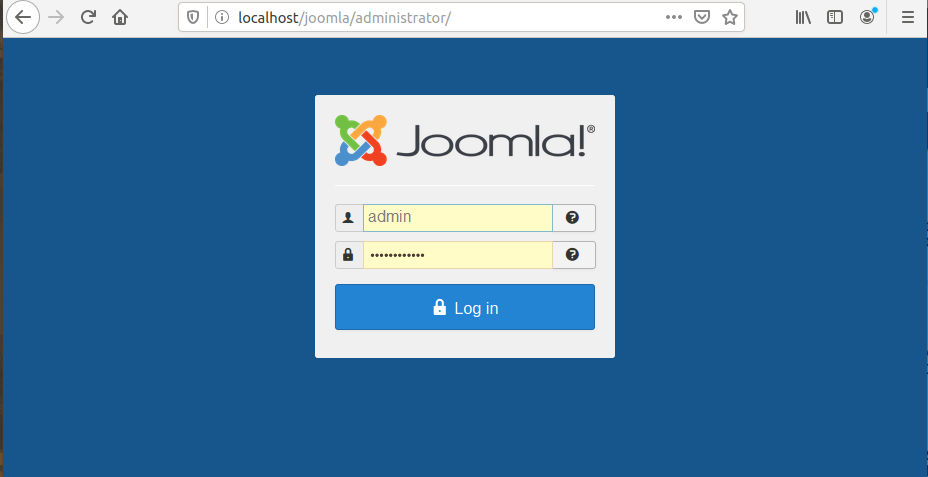
On successful login, you will see the main dashboard for Joomla.
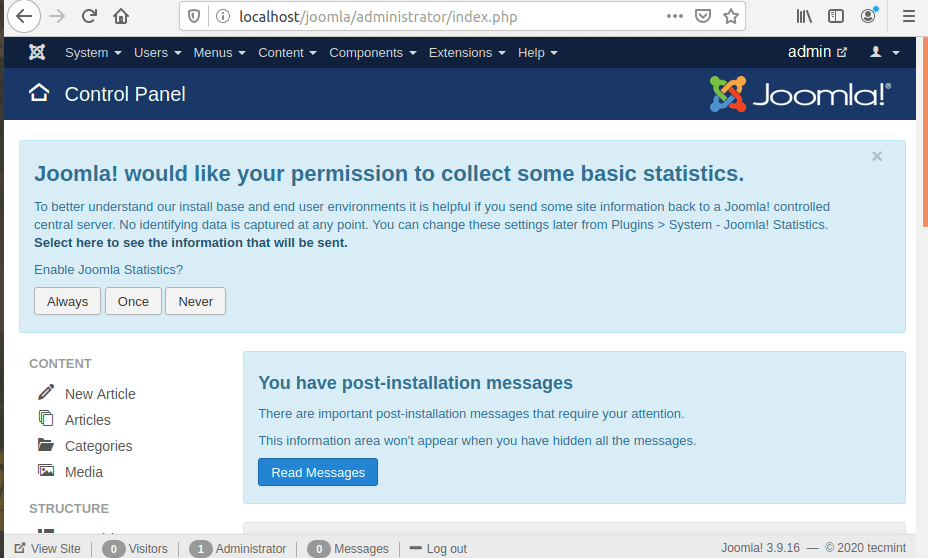
That’s it. You have successfully installed and configured Joomla in Ubuntu.