Multi-factor authentication (MFA) is a secure way to log into SSH. In MFA, the user needs to provide password as well as another piece of authentication to log in securely. Typically, this is a one-time authentication code received on mobile via text, or generated by a mobile app. In this article, we will look how to enable multi-factor authentication in SSH.
How To Enable Multi-factor Authentication in SSH
Here are the steps to enable two-factor authentication in SSH in Ubuntu. As mentioned earlier, multi-factor authentication requires a one-time passcode in addition to the user password. We will use Google Authentication App for passcode generation. Here are the links to install Google Authenticator via Play Store and App Store.
1. Install Pre-requisites
Open terminal and run the following commands to download and install Google Authenticator PAM module.
$ sudo apt install libpam-google-authenticator
To ensure that SSH uses Google Authentication module, add the following line to /etc/pam.d/sshd file:
auth required pam_google_authenticator.soRestart SSH service to apply changes
$ sudo systemctl restart sshd.service
Open /etc/ssh/sshd_config
$ sudo vi /etc/ssh/sshd_config
Change ChallengeResponseAuthentication from no to yes
# Change to yes to enable challenge-response passwords (beware issues with # some PAM modules and threads) ChallengeResponseAuthentication yes # CHANGE THIS TO YES Also read : How to Enable IPv6 in Linux
2. Configure Authentication
Run google-authenticator command in terminal
$ google-authenticator
The app will ask you a series of questions. Here are their recommended responses.
Make tokens “time-base”": yes
Update the .google_authenticator file: yes
Disallow multiple uses: yes
Increase the original generation time limit: no
Enable rate-limiting: yes
You will see a giant QR code during the process, secret key, verification code, and a list of emergency scratch codes to be used in case you are unable to access your phone.
Please note them down and keep them handy.
Also read : How to Set Environment Variable in Linux
3. Add secret to Google Authenticator
Open Google Authenticator App on your mobile. Click on plus sign.

You will see two options
- Scan a barcode
- Enter a provided key
If you select option 1, you will be asked to scan a barcode obtained in step 3, using your phone camera.
If you select option 2, you will be asked to enter the secret key that you received in step 3.
Also enter a name to recognize this 2FA method for SSH. This is because Google Authenticator can be used to setup 2FA for other services also.
Save the changes.
Also read : How to Calculate CPU Utilization in Linux
4. Verify 2FA
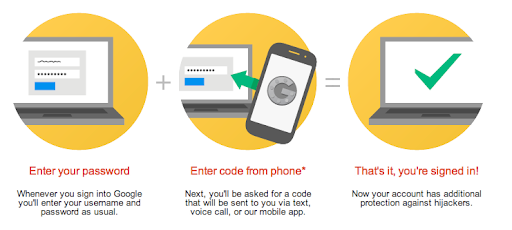
Log into SSH. You will be asked to enter your password, as well as a passcode that you generate on Google Authenticator mobile app. You can generate passcode by opening the app and clicking the 2FA method you saved in step 3.