
Apache Tomcat is a popular web server that allows you to host Java-based websites and applications. It helps you run them using Java server pages and java servlets. In this article, we will look at how to install Tomcat in Ubuntu.
How to Install Tomcat in Ubuntu
Here are the steps to install Apache Tomcat in ubuntu.
1. Create Tomcat folder
We will install Apache Tomcat at /opt/tomcat folder. So open terminal and run the following commands to create this folder.
$ sudo mkdir /opt/tomcat
$ cd /opt/tomcat
Also read : How to Sort List in Python
2. Create Tomcat user
For security purposes, it is advisable not to run tomcat as root user. So we will create a separate user and group which has the permission to access the above folder.
$ sudo useradd -r -m -U -d /opt/tomcat -s /bin/false tomcat
Also read : How to Install Google Cloud SDK in Ubuntu
3. Download Tomcat file
Run the following command to download the installation file for tomcat.
$ sudo wget http://www-eu.apache.org/dist/tomcat/tomcat-9/v9.0.27/bin/apache-tomcat-9.0.27.tar.gz
Also read : How to Configure UFW Firewall in Linux
4. Extract the tar.gz file
Extract the downloaded tar.gz file.
$ sudo tar -xvzf apache-tomcat-9.0.27.tar.gz
Also read : How to Use NGINX with Flask
5. Install Java
Run the following command to install Java. If Java is already installed on your system, you can skip this step.
$ sudo apt-get install default-jdk
Also read : How to Use NGINX Reverse Proxy for Django
6. Update .bashrc file
Open .bashrc file in a text editor.
$ sudo vi ~/.bashrc
Add/modify the following lines in .bashrc file.
export JAVA_HOME=/usr/lib/jvm/java-1.8.0-openjdk-amd64
export CATALINA_HOME=/opt/tomcat/apache-tomcat-9.0.27
Update JAVA_HOME with the latest one on your system. You can find the installed JVM filename with following command.
$ ls /usr/lib/jvm/
Save and exit the file. Run the following command to apply changes.
. ~/.bashrc
Also read : How to Change Max File Upload Size in PHP
7. Test Tomcat installation
Run the following command to start Tomcat server.
$CATALINA_HOME/bin/startup.sh
You will see the following output
Using CATALINA_BASE: /opt/tomcat
Using CATALINA_HOME: /opt/tomcat
Using CATALINA_TMPDIR: /opt/tomcat/temp
Using JRE_HOME: /usr/lib/jvm/java-7-openjdk-amd64/
Using CLASSPATH: /opt/tomcat/bin/bootstrap.jar:/opt/tomcat/bin/tomcat-juli.jar
Tomcat started
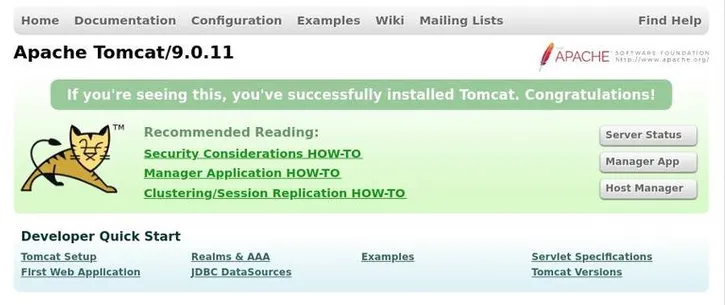
Open browser and go to http://127.0.0.1:8080 since Tomcat server runs on port 8080. You will be able to see the default tomcat page.
Please note, at this point you will be able to access tomcat only from the machine where it has been installed. If you want to be able to access this server from other systems, you need to open port 8080 in your firewall using the following command
$ sudo ufw allow 8080/tcp
In this article, we have shown how to install tomcat in Ubuntu. Apache tomcat is a very powerful web server for hosting Java-based applications. It is used by millions of websites all over the world.