MediaWiki is a popular, open-source wiki management platform suitable for websites & businesses. It is written in PHP language. It was originally created for Wikipedia and is used by major organizations like NGINX, Intel, Novell, etc. MediWiki is suitable for managing knowledge bases and documents about your company’s tasks & processes. In this article, we will look at how to install MediaWiki with NGINX in Ubuntu.
How to Install MediaWiki with NGINX in Ubuntu
Here are the steps to install MediaWiki with NGINX in Ubuntu.
1. Install NGINX
Open terminal and run the following command to update Ubuntu system.
$ sudo apt update
$ sudo apt upgrade -y
Run the following command to install NGINX.
$ sudo apt install nginx -y
Run the following commands to start NGINX, and also enable it to auto-start at system reboot.
$ systemctl start nginx
$ systemctl enable nginx
2. Install PHP-FPM
Next, install PHP and PHP-FPM, along with their extensions.
$ sudo apt install imagemagick php7.0-fpm php7.0-intl php7.0-xml php7.0-curl php7.0-gd php7.0-mbstring php7.0-mysql php-apcu
If you want to install a different version of PHP-FPM remove 7.0 from the above command, or replace it with a version of your choice, such as, 7.4 to install version 7.4.
Next, we need to increase max upload size in PHP to allow bigger uploads to our MediaWiki site. So run the following command to open PHP configuration file.
$ cd /etc/php/7.0
$ vim fpm/php.ini
Increase max_upload_size and memory_limit variables to 20M and 128M respectively, as shown below.
upload_max_filesize = 20M
memory_limit = 128M
Save and exit the file.
Restart PHP-FPM service and enable it to auto-start at system reboot.
$ sudo systemctl restart php7.0-fpm
$ sudo systemctl enable php7.0-fpm
3. Install MySQL database
MediaWiki stores all its data in a database and works with many different websites. We will use MySQL databsae for our example. Run the following commands to install MySQL database. If you have already installed MySQL on your system, skip to the part below where we create MediaWiki database.
$ sudo apt install mysql-server mysql-client -y
You will be asked to specify root password twice. Enter it as per your requirement. It will complete MySQL installation.
Run the following command to start MySQL service and enable it to auto-start during system reboot.
$ sudo systemctl start mysql
$ sudo systemctl enable mysql
Next, we will create MediaWiki database, along with a database user and password. We will create mediawikidb database, username mediawiki, and password mypass. You can change it as per your requirement.
Log into MySQL as root user.
$ mysql -u root -p
After successful login, run the following statements to create mediawiki database, user and password.
mysql> create database mediawikidb;
mysql> grant all privileges on mediawikidb.* to mediawiki@'localhost' identified by 'mypass';
mysql> flush privileges;
mysql> exit;
4. Install MediaWiki
We will need to install composer, git, zip & unzip packages before installing MediaWiki. Run the following command to do so.
$ sudo apt install composer git zip unzip -y
Create a new folder for mediawiki. Then run the following command to download MediaWiki. We will be cloning the source to newly created directory.
$ mkdir -p /var/www/mediawiki
$ sudo git clone https://gerrit.wikimedia.org/r/p/mediawiki/core.git /var/www/mediawiki
Next, we will go into the new folder and create composer project.
$ cd /var/www/mediawiki
$ composer install --no-dev
Finally, we will change the ownership of installed files & folders so that MediaWiki can easily update them. We use www-data user which is the standard user used by web servers to work with files & directories.
$ chown -R www-data:www-data /var/www/mediawiki
The latest version of MediaWiki will be now present at /var/www/mediawiki.
5. Generate Let’s Encrypt SSL certificate
Let’s Encrypt is a free SSL certificate provider. We will install it for our website and redirect all HTTP requests to HTTPS.
Run the following command to install Let’s Encrypt.
$ sudo apt install letsencrypt -y
Stop NGINX
$ sudo systemctl stop nginx
Generate SSL certificate.
$ sudo letsencrypt certonly
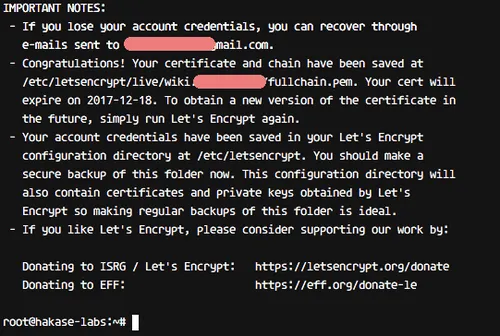
You will be asked email address to send certificate renewal notification. Enter it. Then you will be shown their terms of service, click ok. Then you will be asked to enter the domain/subdomain that you want to secure with this certificate. Enter the domain/subdomain for your MediaWiki correctly without http:// or http://. For our purpose, we will use example.com as domain.
Finally, you will see the following message displaying the path of your SSL certificates, that is, /etc/letsencrypt/live.
6. Configure NGINX Virtual Host
At this point we have installed NGINX, PHP, MySQL & MediaWiki. We need to configure NGINX virtual host to serve MediaWiki’s files, based on incoming request.
Go to NGINX directory and create new NGINX configuration file.
$ cd /etc/nginx/
$ sudo vi sites-available/mediawiki
Add the following lines to it. Basically, we create 2 servers – one for HTTP port 80 and other for HTTPS port 443. The HTTP server block simply redirects all requests to HTTPS server block. In the HTTPS server block, we define the root folders for different kinds of requests. Replace example.com below with your domain/subdomain name.
# HTTP Request will be Redirected to the HTTPS
 server {
     listen 80;
     listen [::]:80;
     server_name example.com;
     return 301 https://$host$request_uri;
 }

 # HTTPS Configuration
 server {

     listen 443 ssl;
     listen [::]:443;

     server_name example.com;
     root /var/www/mediawiki;

     index index.php;
     autoindex off;

     # SSL Certificate Configuration
     ssl_certificate /etc/letsencrypt/live/example.com/fullchain.pem;
     ssl_certificate_key /etc/letsencrypt/live/example.com/privkey.pem;

     client_max_body_size 5m;
     client_body_timeout 60;

     location / {
         try_files $uri $uri/ @rewrite;
     }

     location @rewrite {
         rewrite ^/(.*)$ /index.php?title=$1&$args;
     }

     location ^~ /maintenance/ {
         return 403;
     }

     # PHP Configuration
     location ~ \.php$ {
         fastcgi_pass unix:/run/php/php7.0-fpm.sock;
         fastcgi_param SCRIPT_FILENAME $document_root$fastcgi_script_name;
         include fastcgi_params;
         include snippets/fastcgi-php.conf;
     }

     location ~* \.(js|css|png|jpg|jpeg|gif|ico)$ {
         try_files $uri /index.php;
         expires max;
         log_not_found off;
     }

     location = /_.gif {
         expires max;
         empty_gif;
     }

     location ^~ ^/(cache|includes|maintenance|languages|serialized|tests|images/deleted)/ {
         deny all;
     }

     location ^~ ^/(bin|docs|extensions|includes|maintenance|mw-config|resources|serialized|tests)/ {
         internal;
     }

     # Security for 'image' directory
     location ~* ^/images/.*.(html|htm|shtml|php)$ {
         types { }
         default_type text/plain;
     }

     # Security for 'image' directory
     location ^~ /images/ {
         try_files $uri /index.php;
     }

 }
Activate the virtual host configuration file with the following command.
$ sudo ln -s /etc/nginx/sites-available/mediawiki /etc/nginx/sites-enabled/
Run the following command to test NGINX configuration.
$ nginx -t
Restart it if there are no errors.
$ sudo systemctl restart nginx
7. Web-based installation
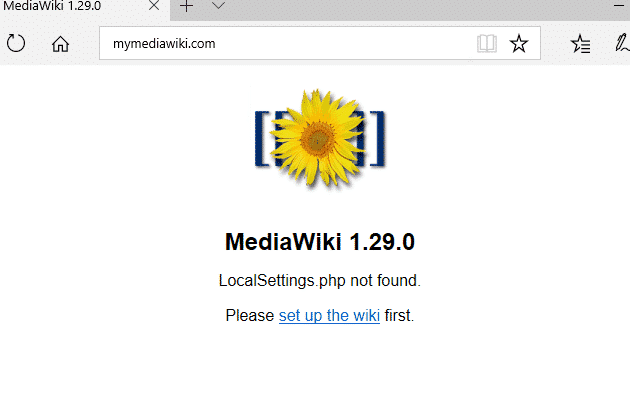
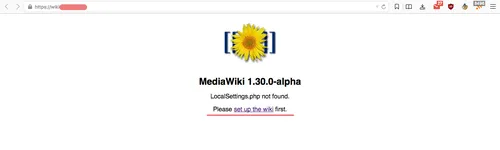
Now we can access MediaWiki from web browser. So enter your domain/subdomain hosting MediaWiki site example.com
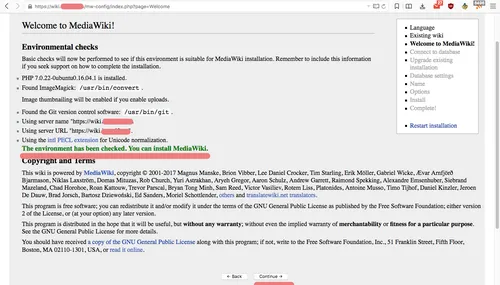
You will see the following welcome screen. Click ‘set up the wiki’.
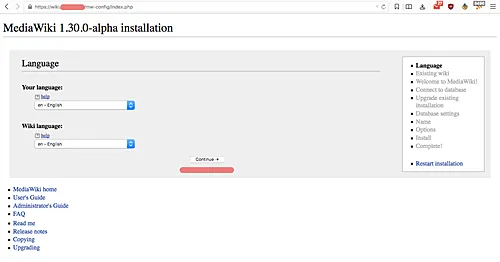
You will see the language configuration page. Select English and click Continue.
Next, MediaWiki will check your installation environment and display the following message. If there are no errors, click Continue.
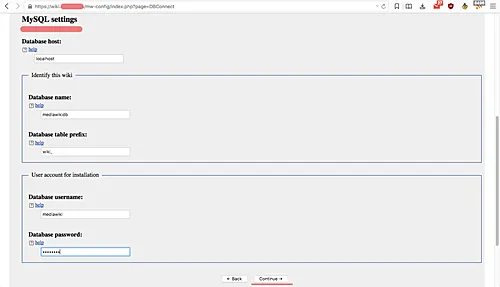
Next, you will see the database configuration screen. Enter your database name mediawikidb with prefix wiki_. Enter database user as mediawiki and password as mypass as defined in step 3.
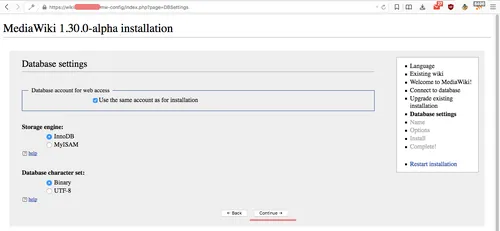
Next, you will see database configuration page. Just click Continue.
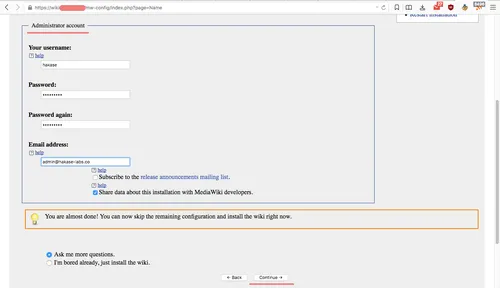
Next, you need to create Admin user for MediaWiki. Enter username, password & email as per your requirement and click Continue.
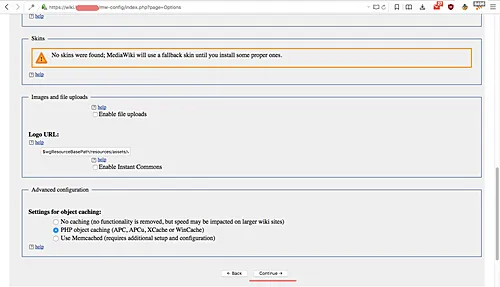
Next, you will see the MediaWiki Additional Configuration page. Just click Continue.
Next, you will see final confirmation for MediaWiki installation. Click Continue.

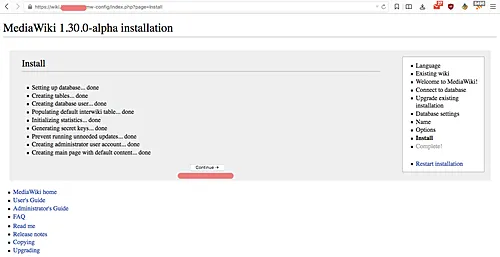
You will see installation progress. If you see any prompt, click Continue.
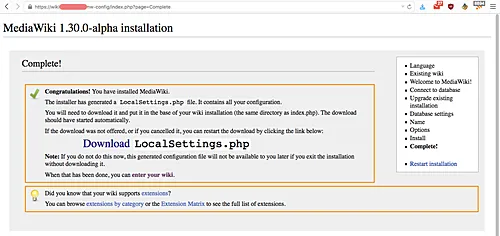
When MediaWiki Installation is complete you will see confirmation page asking you to download LocalSettings.php. Click the link to download it, and download it to /var/www/mediawiki.
Make sure to change the owner of this file.
$ sudo scp LocalSettings.php root@example.com:/var/www/mediawiki/
$ sudo chown -R www-data:www-data /var/www/mediawiki
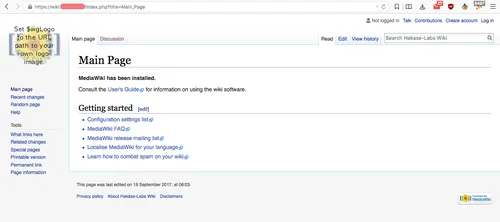
Now come back to the browser and click ‘enter your wiki’. You will see page that says MediaWiki has been installed with NGINX.
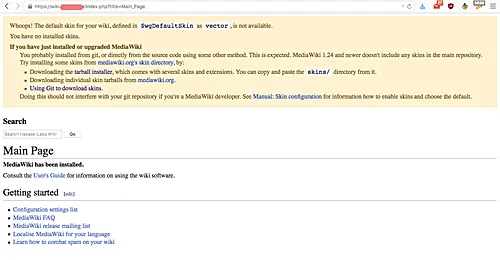
At this point your MediaWiki will not have any styling or skins. We need to separately download & install the default skin as shown.
8. Download & Configure Default Skin
Go to /var/www/mediawiki/skins and clone the default skin ‘Vector’.
$ cd /var/www/mediawiki/skins/
$ sudo git clone https://gerrit.wikimedia.org/r/mediawiki/skins/Vector
Open LocalSettings.php downloaded earlier.
$ sudo vi /var/www/mediawiki/LocalSettings.php
Just add the following line to it.
wfLoadSkin( 'Vector' );
Save and close the file. Now when you open browser and go the URL hosting MediaWiki site, you will see the Main page with default styling found on Wikipedia website.
That’s it. We have installed and configure MediaWiki with NGINX on Ubuntu.
Also read:
How to Send Email with Attachment in Linux
How to Remove (Delete) Symbolic Links in Linux
How to Install Zoom in Ubuntu
Shell Script to Backup Files in Directory
How to Disable Apache Configuration File