Django is a popular python-based web framework used by thousands of websites. In this article, we will look at how to install Django in Ubuntu.
How to Install Django in Ubuntu
Here are the steps to install Django in Ubuntu. We will be installing Django as a python package, instead of a standalone tool. This makes it easy to integrate Django with the right python version and environment. It is also the recommended method as per Django’s official documentation.
1. Update System
Open terminal and run the following command to update system packages before installing django.
$ sudo apt-get update
Also read : How to Install Git in Ubuntu
2. Install Python & Pip
Python 3 is recommended for Django. In Ubuntu 16.04 and above, Python3 is present by default. If not, run the following command to install Python3.
$ sudo apt-get install python3
Check python version
$ python3 -V
Python 3.6.8
Next, install pip utility required to install python packages like Django.
$ sudo apt-get install python3-pip
Check pip version
$ pip3 -V
Also read : How to Install Virtualenv in Ubuntu
3. Install Django
Run the following command to install Django package in Ubuntu.
$ sudo pip3 install Django

OR

$ python3 -m pip3 install Django
Verify installation by checking its version
$ django-admin –version
2.2.7
That’s it. Django is now installed on your Ubuntu system.
Next steps describe how to create and launch a Django application.
Also read : How to Change SSH Port in Ubuntu
4. Create Django Application
Django-admin command allows you to create and manage Django applications. Navigate to the directory where you want to create a Django app. A Django app is a directory of files and subfolders that contain views, models and urls required to run the app.
Run the following command to create your app named ‘test_app’.
$ django-admin startproject test_app
You will find a folder named test_app created at your present location. Run the following command to set up the database and users for your django app.
$ cd django_app
$ sudo python3 manage.py migrate
Also read : How to Set Up Automatic Updates in Ubuntu
5. Create Superuser
Run the following command to create a superuser for Django application.
$ python3 manage.py createsuperuser
You will see a prompt where you need to enter username and password for this new user.
Username : test_user
Email address : user@domain.com
Password:
Password (again) :
Superuser created successfully.
Also read : How to Set up Static IP in Ubuntu
6. Run Django Application
By default, Django does not allow external host IPs to access web interface. So you need to add it to ALLOWED_HOSTS variable in settings.py file of your Django app. Open it with a text editor.
$ sudo vim django_app/settings.py
Add your website/domain’s IP address (e.g 54.23.21.45). If you are running it on localhost add 127.0.0.1. Change
ALLOWED_HOSTS = ['your_server_IP']
to
ALLOWED_HOSTS = ['54.23.21.45']
You can also add multiple IP addresses, if you want, in a comma-separated manner as shown.
ALLOWED_HOSTS = ['54.23.21.45','127.0.0.1']
Save changes and close the file.
Run Django server with the following command.
python3 manage.py runserver 0.0.0.0:8000
By default, Django server runs on port 8000. If you want to change this port number (e.g 3000) replace 8000 above with the new port number.
python3 manage.py runserver 0.0.0.0:3000
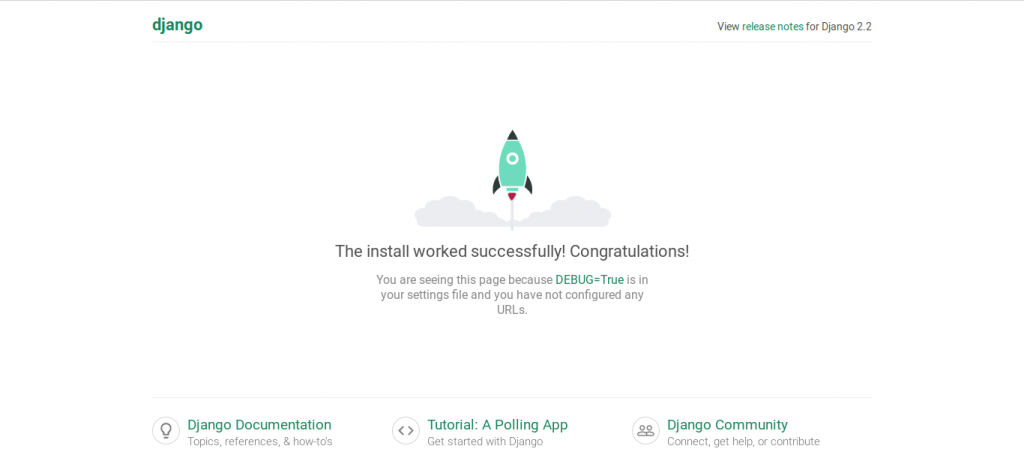
Open browser and go to http://your_domain_ip:port_number (e.g http://54.23.21.45:8000) to access your Django website.
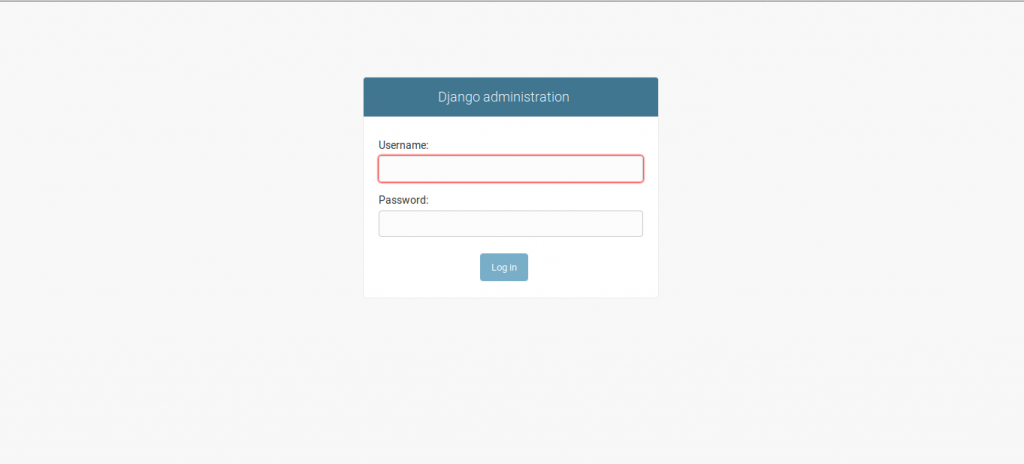
You can also access Django’s admin interface by visiting http://your_domain_ip:port_number/admin (e.g http://54.23.21.45:8000/admin)